Add/Edit/Delete Events in WordPress
WordPress's built-in Events Manager is an easy way to manage your upcoming events, specials, and deals. They are easy to add, edit, and delete. If you don't have an Events page set up already, you will need to contact Techno Goober for more assistance. Call Techno Goober for help at (302) 645-7177 or contact us online.
Quick Access:
Open the Events Manager
To begin, log into WordPress, your content management system.
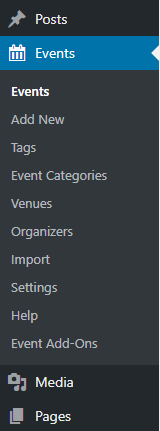
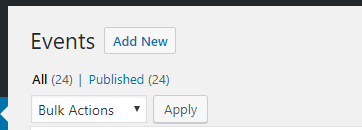
Step 1: Click the Events link in the left sidebar within the content management system. If you don't have an Events option, you need to contact Techno Goober to set it up.
How do I edit an Event?
Step 1: Navigate to the Events Manager.
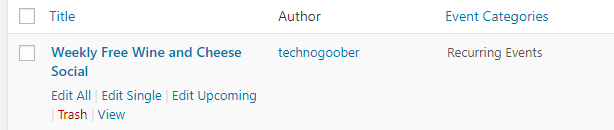
Step 2: Hover over the title of the event that you want to modify. Select Edit All, Edit Single, Edit Upcoming depending on your needs.
Step 3: Make the desired changes using the Editor. You can add text and images to the Event Details. Read more about editing text, headings, and links. You can also set the date, time, and Time Zone for each event.
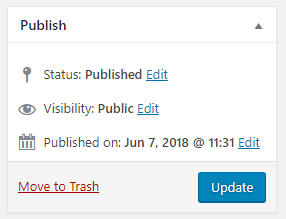
Step 4: Save your changes by clicking Update.
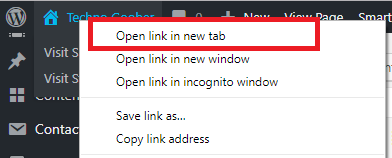
Step 5: Go to the front-end of the website to check out your work. To do this, you can right-click on the name of your website in the top left corner and select Open in a new tab.
How do I create new Events?
Step 1: Navigate to the Events Manager.
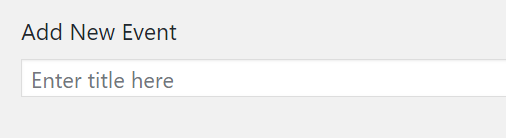
Step 2: Click Add New at the top left of the screen.
Step 3: Input a Title for your post. This will most commonly be what the online audience will see at the top of the post when they see the completed post.
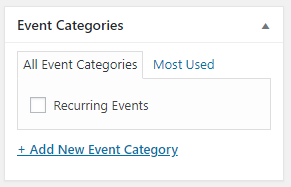
Step 4: Select the Post Category by check marking it in the right sidebar.
Step 5: Add Tags by selecting them or adding new ones in the right sidebar.

Step 6: Add the event description in the Editor.
Step 7: Below the Editor, enter the event's start/end date and time. You can also set the Time Zone.

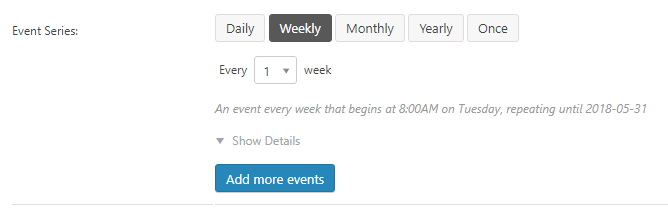
Step 8: If the event takes place on more than one day, you can use the “Event Series” area to schedule multiple events. The options are Daily, Weekly, Monthly, Yearly or Once. You can either repeat using the same date and time, or you can select a completely different date and time for the event to be repeated on.
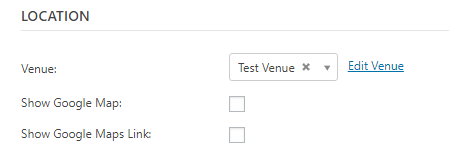
Step 9: Below the date & time, enter the Event Location. Once entered, the default location will pop up next time you create an event. **This may not be applicable to every site.
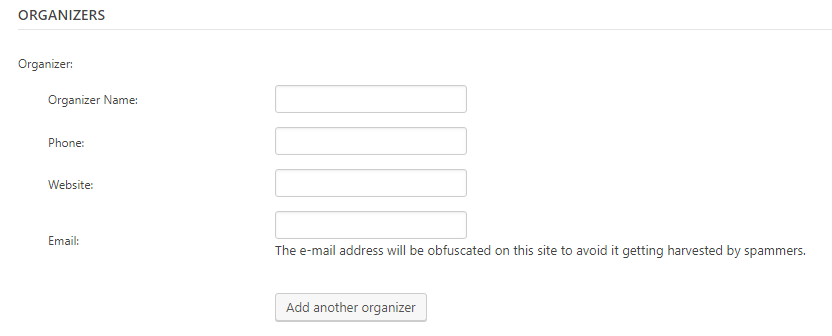
Step 10: Below the Event Location, enter the Event Organizer. **This may not be applicable to every site.
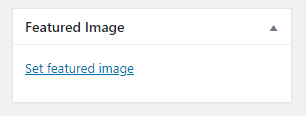
Step 11: In the box designated Featured Image, upload the image for the event. This will be what the public sees when viewing an event.
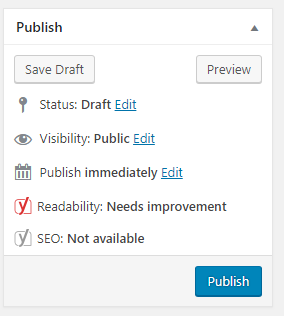
Step 12: Within the Post Editor, add the content to your post and when complete, click Publish.
Step 13: Go to the front-end of the website to check out your work. To do this, you can right-click on the name of your website in the top left corner and select Open in a new tab.
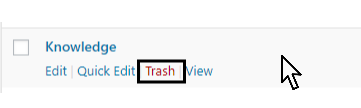
How do I delete an Event?
Step 1: Navigate to the Events Manager.
Step 2: Hover over the event that you want to delete, and click Trash.