Edit Text, Headings, and Links in WordPress
The majority of all the content on your site is located on Pages. It is relatively easy to add, edit, and delete text on your page. You may also need to add headings and links to your text. Learn how to do these functions on WordPress with this guide. For more information about where a page content is located, visit Page Layout. If you need any help making changes to your website, call Techno Goober for help at (302) 645-7177 or contact us online.
Quick Access:
- Edit Text on the Page
- Add Headings to the Page
- Add Links Within Your Website
- Add Links Outside Your Website
How to Edit Plain Text on the Page
To begin, log into WordPress, your content management system.
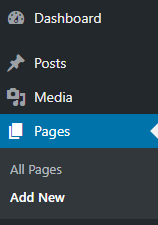
Step 1: Click the Pages link in the left sidebar within the content management system.
Step 2: Click on the title of the page that you want to modify.
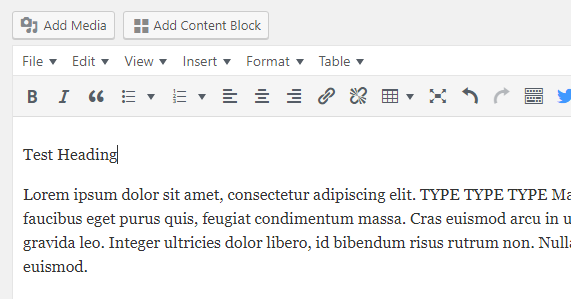
Step 3: Click your cursor in the Text Editor. Type with the keyboard.

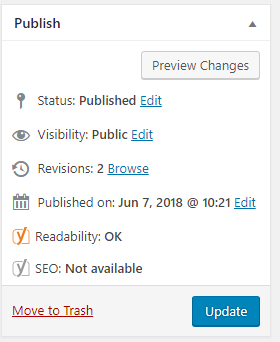
Step 4: Save your changes by clicking Update.
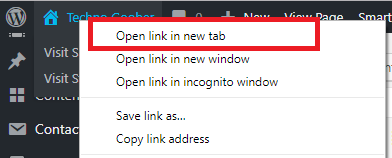
Step 5: Go to the front-end of the website to check out your work. To do this, you can right-click on the name of your website in the top left corner and select Open in a new tab.
How to Add Headings on the Page
Step 1: Click the Toolbar Toggle icon.


Step 2: In the text editor, type the heading you would like to add on its own line.
Step 3: Click and highlight the heading you typed.

Step 4: Select the Heading Style you would like to use.

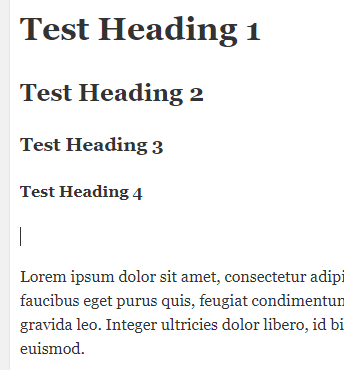
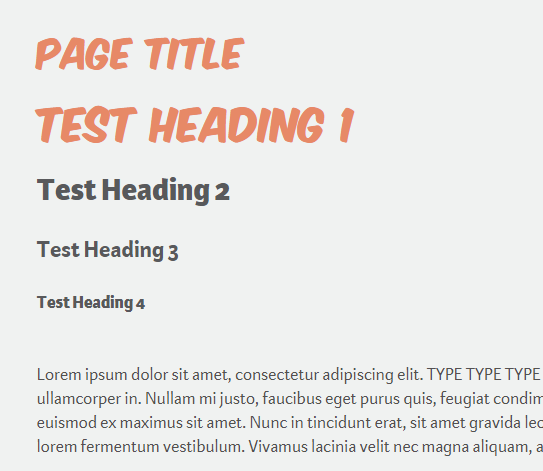
Cheat Sheet:
- Heading 1 is for the title of the page. You should only have 1 title on a page. In WordPress, the name of your page is a Heading 1.
- Heading 2 is the next largest heading on a page. It will be your most common heading.
- Heading 3 is slightly smaller than Heading 2. If you need a subcategory under your H2, use an H3.
- Heading 4 is the smallest heading you will probably use. This is useful for a subcategory under an H3.
- You should always use headings in the order they are numbered. Do not put a Heading 3 before a Heading 2.
- Paragraph is normal text without a heading style. This text is “paragraph” style.
Step 5: Go to the front-end of the website to check out your work. To do this, you can right-click on the name of your website in the top left corner and select Open in a new tab.
Step 6: Confirm your changes.
How to Add (Internal) Links to the Text
Step 1: Type and highlight the text you would like to link. This can be the actual URL or a part of a sentence that tells a reader what the link is. Avoid typing “Click Here” since this doesn’t tell a user where the link goes.

Step 2: Click the link icon in the toolbar.
![]()
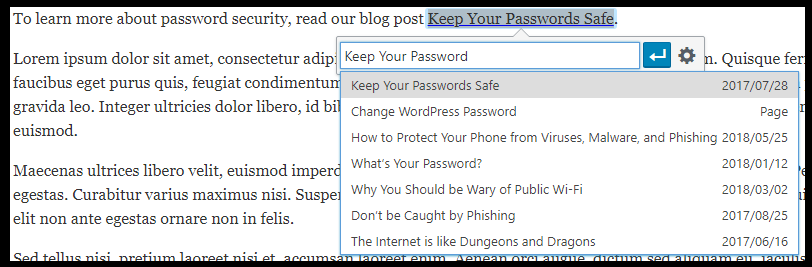
Step 3: Type the title of the page you want to link to on your website. Click the correct title when it appears. To add a link to a PDF document, use these instructions.
Step 6: Click the blue arrow to confirm the link.

Step 7: Confirm the link is correct. The text should be blue with an underline.

How to Add (External) Links to the Text
Step 1: Type and highlight the text you would like to link. This can be the actual URL or a part of a sentence that tells a reader what the link is. Avoid typing “Click Here” since this doesn’t tell a user where the link goes.

Step 2: Click the link icon in the toolbar.
![]()
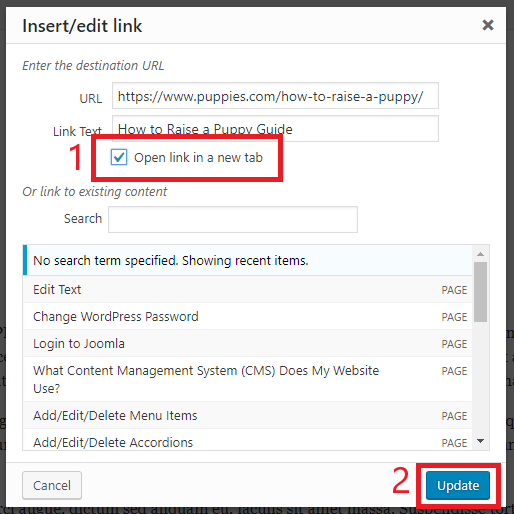
Step 3: Copy and paste the URL for the link into the box.

Step 4: Click the link gear icon.

Step 5: Check Open link in a new tab. Then click Update.
Step 6: Confirm the link is correct. The text should be blue with an underline.
