Add Photos to Pages or Posts in WordPress
Adding photos to your website is a great way to show off your current products, events, and more. We recommend adding at least 1 photo to every page or post on your website to keep users interested. If you need any help making changes to your website, call Techno Goober for help at (302) 645-7177 or contact us online.
How to Add Photos in WordPress
To begin, log into WordPress, your content management system, and open the page, post or content block that you would like to add the photo. For more information, visit our Knowledge Base articles on Pages, Posts, and Content Blocks.
Step 1: Click inside the editor in the position you would like the picture to appear.
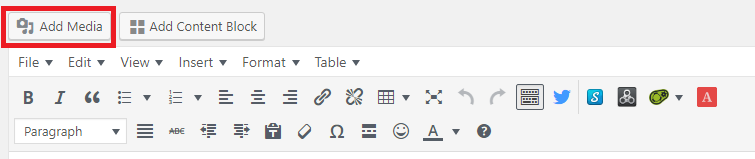
Step 2: Click the Add Media icon on the toolbar.
Step 3: If the image was already added to your website, you will see it in the Media Gallery. If not, you will need to upload the image to your website. Click the Upload Files button at the top left.

Step 4: There are two methods for uploading images to WordPress. The first is to drag your images into the designated area Drop files anywhere to upload. This will automatically add the photo(s) to the Media Library.
Step 5: The second method for uploading images to WordPress is to manually choose the image. Click Select Files, locate and click on the image on your hard drive, then select Open.
Step 6: Edit the photo before adding it. This is an optional step, but you can add information to each image for users on the page. See definitions below.
- Title = the title of your image that will appear when you hover over the image
- Caption = the text that will appear underneath your image
- Alt Text = you should enter a couple of words to describe the photo.
- Description = a short description of the image, similar to the alt text
- Alignment = you can play around with the alignment of the photo to get the desired effect that you are looking for. Example = left align will allow the text wrap around the photo.
- Size = select a pre-determined size from the drop down
Step 7: Once you are finished editing the image information, click Insert into page.
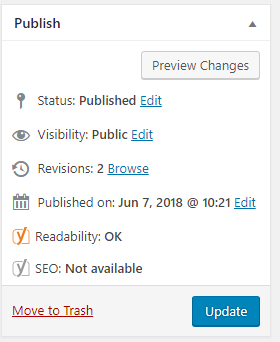
Step 8: Click Update to save your changes to the page.
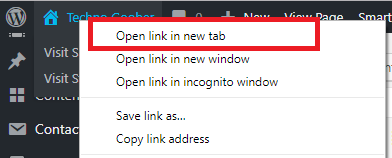
Step 9: Go to the front-end of the website to check out your work. To do this, you can right-click on the name of your website in the top left corner select Open in a new tab.